As an admin, you can set up different leave types for your company. The steps are as follows:
1. Create a new leave type OR add a leave type from gallery
2. Edit the leave type
3. Assign to employees
Creating a new leave type
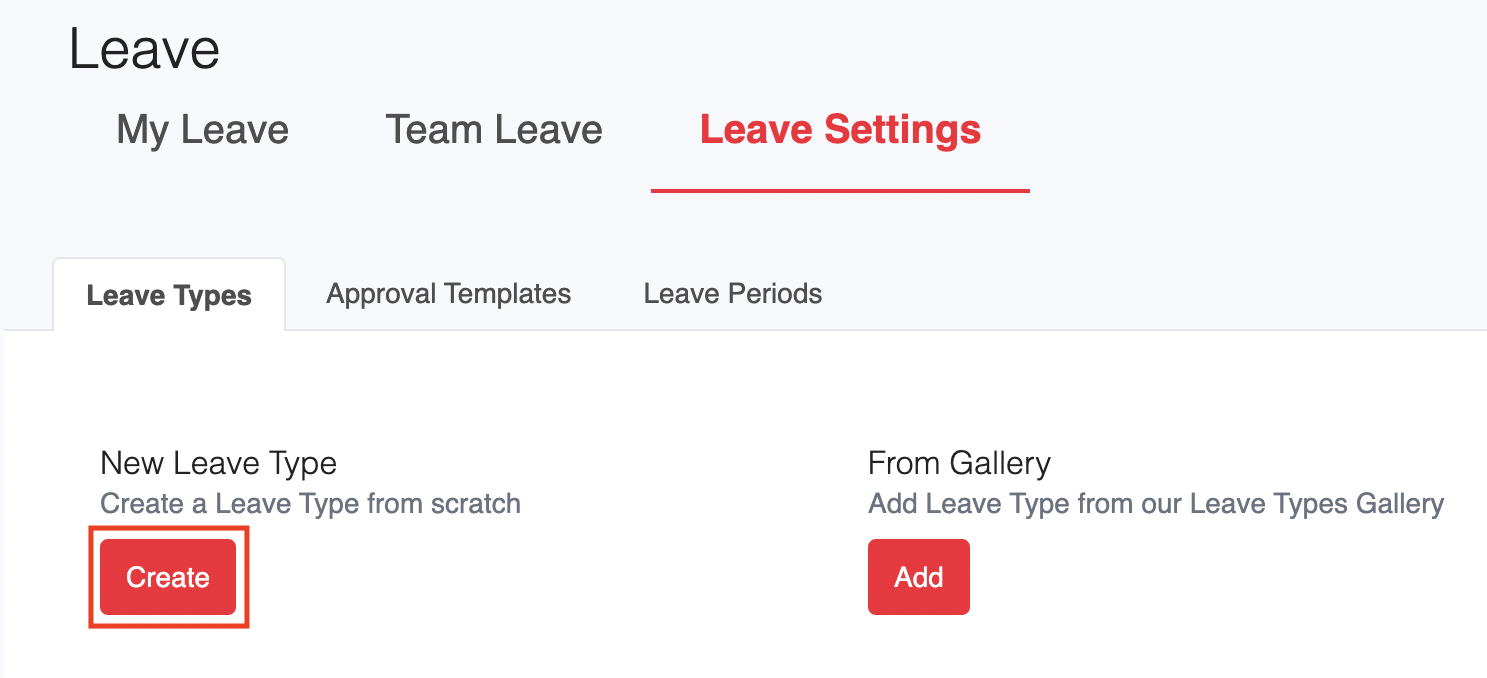
Go to Leave > Leave Settings > Leave Types
Click on the Create button under New Leave Type to create a custom leave type.

Proceed to edit the leave type.
Adding a leave type from gallery
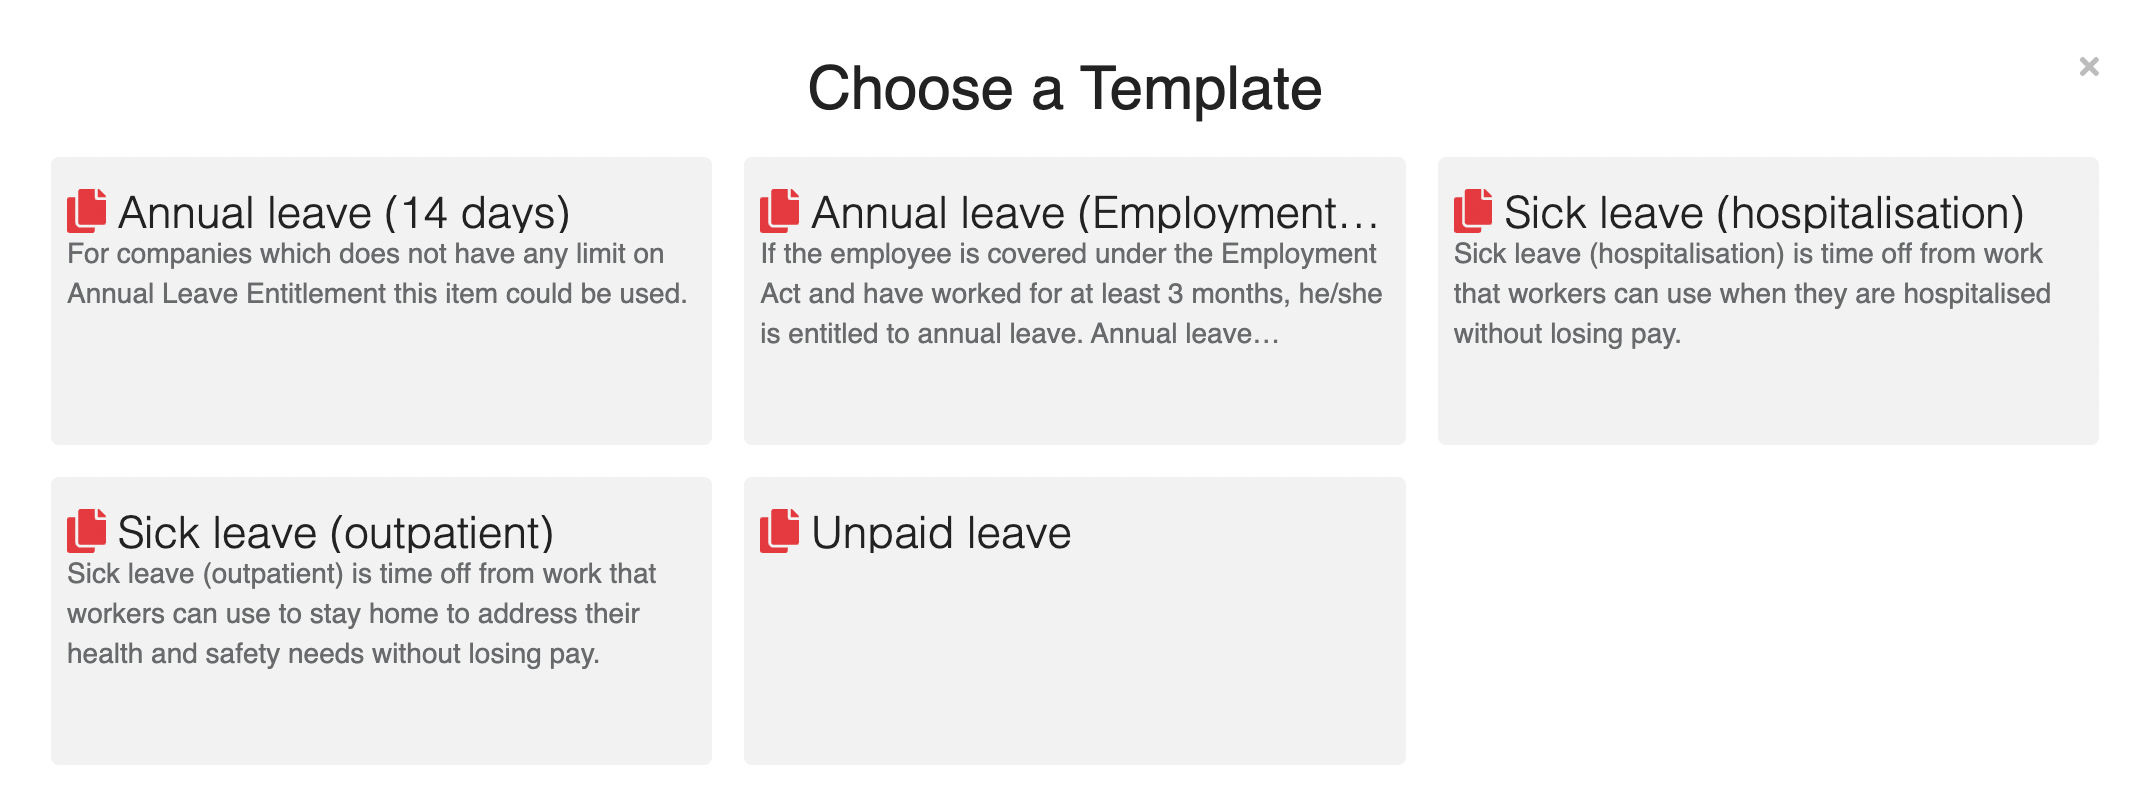
Click on Add under From Gallery to choose from a pre-existing list of leave types.

Select any of the pre-populated leave types.

Click on the Clone button at the bottom of the leave type to use the template.

Editing the newly created leave type
In the Add Leave Type window, there are various fields for you to fill in or edit.

Name: The name of the leave type is a mandatory field
Description: A short description of the leave type
Certificate Required: The leave type will require a document to be uploaded if checked
Is Compensatory Leave?: The leave type will be considered compensatory leave if checked
Is Unpaid Leave?: The leave type will be used in the auto-calculation of unpaid leave in payroll if checked
Allow Negative Balance?: The leave type will allow employees to apply for leave beyond their balance if checked.
Set Leave Entitlement based on Job Grade: When enabled, the leave entitlement will be assigned according to the employee's job grade.
Is Birthday Leave?: Marks the leave type as birthday leave. This is typically restricted to use on or near the employee’s birthday.
Show leave summary in payslip: A summary of the employee's leave balance and usage for this leave type will be displayed on their payslip.
Entitlement Settings
Choose how the entitlement for this leave type will work.
i. Fixed balance: A specific fixed number of days will be available to the employee

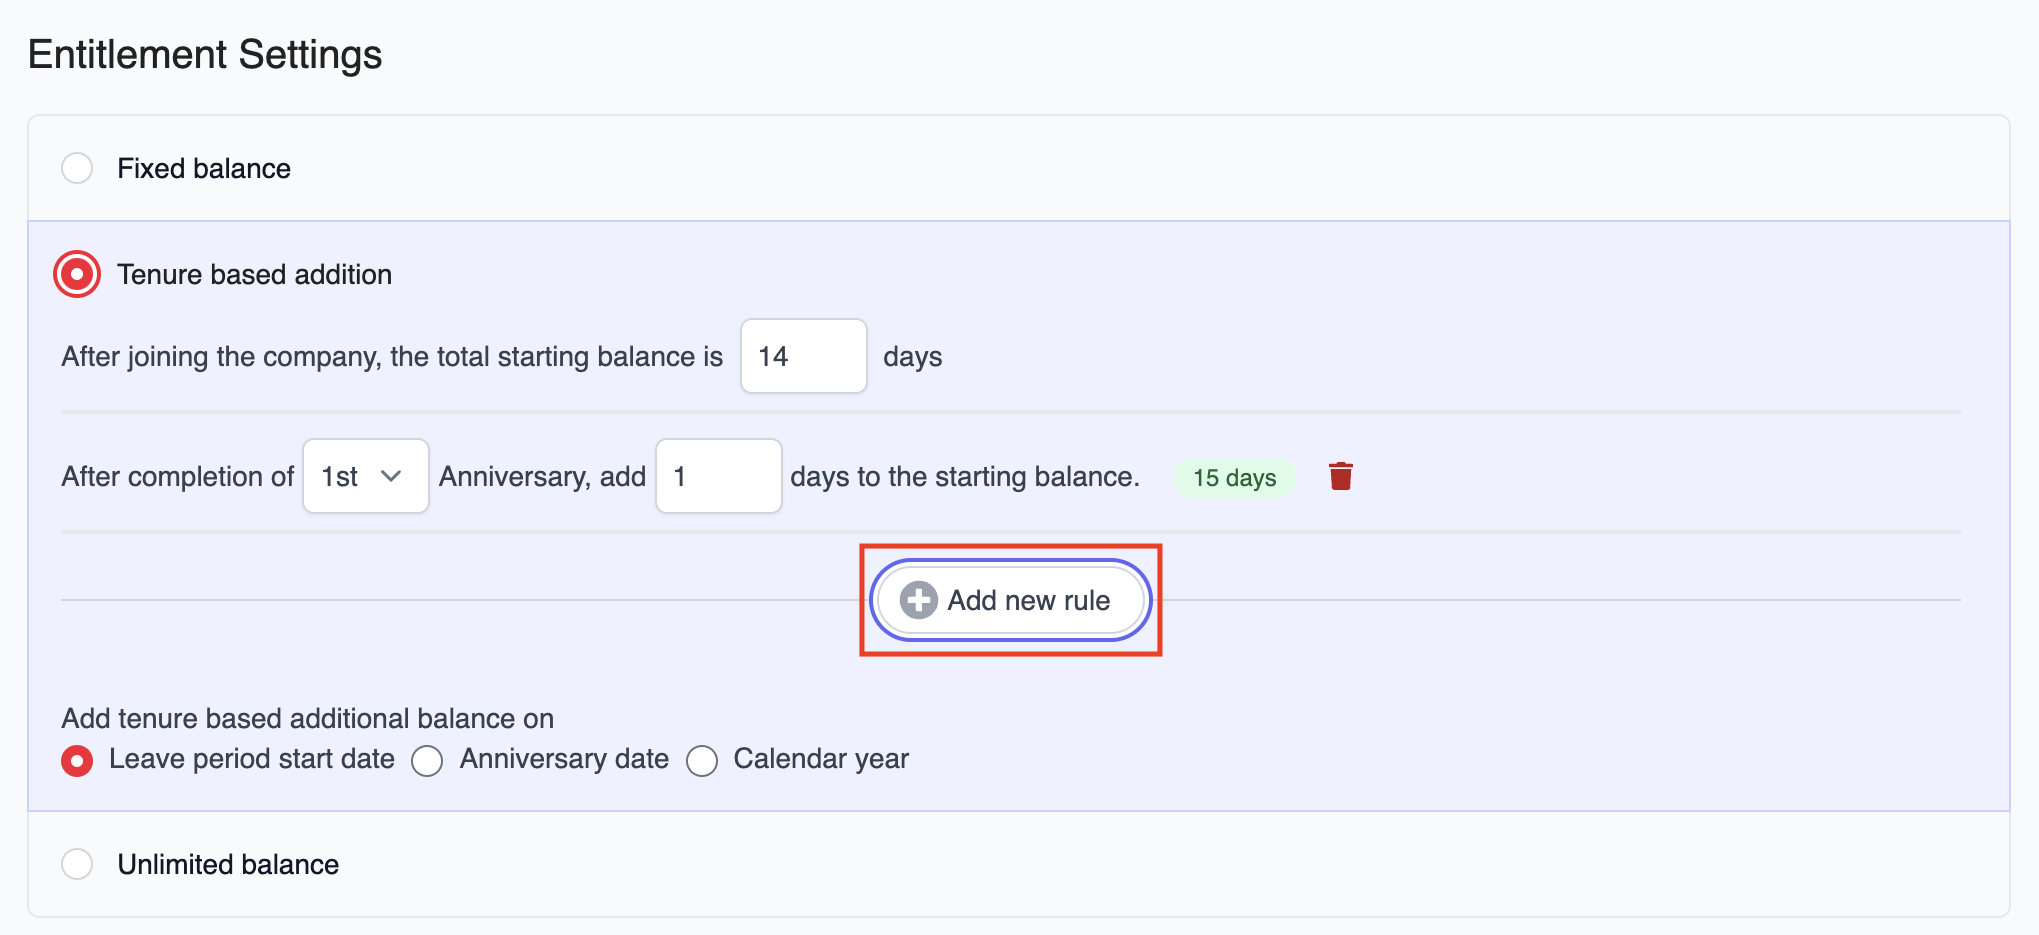
ii. Tenure-based addition: The number of days available to the employee will depend on how long they have been with the company.
To set up the rules for tenure based addition, set the starting balance for the leave type, then click the Add new rule button to customise the increment in leave balance every cycle.

There are three options for calculating the basis of the employee's tenure.
Leave period start date: Starting date of the leave period, usually 1 Jan. Differs from "Calendar Year" as leave is only added after 1st work anniversary, not at the start of each calendar year regardless of whether the work anniversary has passed.
Note: the leave period year that an employee joins the company in would be considered the 0th year. Therefore their entitlement would increase only in the 2nd leave period year
Anniversary start date: A full year after the employee's join date
Calendar Year: Leave entitlement is added on 1 Jan each year
Illustrative example of tenure-based addition calculations:
Assuming an employee joined the company on 1 April 2020 and they move to the next tier of leave entitlement after they have completed 4 years (1 April 2024):
Balance added is based on leave period start date
Assuming leave period of 1 Jan - 31 Dec
Balance will be added on 1 Jan 2025 (i.e. next leave period start date)
Balance added is based on anniversary date
Balance will be added on 1 April 2024
Balance added is based on calendar year
Balance will be added on 1 Jan 2024 (same year)
Count Days
Choose to count the leave days taken based on working days or calendar days. This is important as it will differ per leave type (e.g. maternity leave should count the leave days by calendar days, not working days)

Count half-day working day as a full day of leave?: When enabled, any leave applied on a half working day will be counted as a full day of leave. For instance, if Saturday is configured as a half working day, taking leave on that day will be considered 1 full day.
Count public holiday as working day?: When enabled, leave applied on a public holiday will be included in the leave calculation.
Unused leaves
Choose what happens to any unused leave days:
Forfeit: Unused leave will not be available to the employee after the leave period
Encashment: Unused leave can be encashed to the employee
Carry forward: Unused leave can be carried over to the next leave period according to the settings. You can set a time period within which the carry forward leave must be used, and the carry forward leave balance limit can be set either in days or a percentage of their balance
Allow carry forward and encashment: Unused leave can be carried over and encashed to the employee by the end of the leave year period

Restrict new joinees from applying leave?
Choose whether new joinees should be restricted from applying for leave.
No restriction: There will be no restriction, employees can apply for leave as soon as they join
During probation period: Allows employees to apply for leave even while on probation (The probation period must be set in their Career Progression by setting a date for their confirmation)
For first X months: Allows employees to apply for leave after a set number of months from their joining date

Proration Required?
Choose whether the leave entitlement needs to be prorated based on the employee's joining date.
Incomplete month of service: Will take into account completed months of service and count any additional incomplete months as another month when prorating
Completed month of service (recommended by MOM): Will only take into account completed months of service based on the employee's joining date and use those months to prorate
Calendar days: Will prorate by the number of calendar days the employee has been in service

Balance Accrual
Choose how the leave balance should accrue to employees.
Available Upfront: The entitlement will be given in full as soon as the employee joins the company
Accrued beginning of every Month: The total number of days of entitlement will be divided equally for each month and given to the employee on a monthly basis at the beginning of each month
Accrued end of every Month: The total number of days of entitlement will be divided equally for each month and given to the employee on a monthly basis at the end of each month (i.e. on the 1st of the next month)
Accrued beginning of every Quarter: The total number of days of entitlement will be divided equally for every quarter and given to the employee on a quarterly basis at the beginning of each quarter
Accrued end of every Quarter: The total number of days of entitlement will be divided equally for every quarter and given to the employee on a quarterly basis at the end of each quarter

Rounding Settings
Choose how the leave entitlement should be rounded.
- No Rounding: The system will display and use the exact calculated balance, including decimal values (e.g., 1.25 days remains 1.25)
- Default Rounding: Standard rounding rule. If the fractional part of a day is less than 0.5, it rounds down. If it's 0.5 or more, it rounds up to the next whole day (e.g., 1.4 → 1, 1.5 → 2).
- Round-Up/Nearest whole number: Always rounds up to the next full day, regardless of the fraction (e.g., 1.1 or 1.5 → 2).
- Round-Up/Nearest half: Always rounds up to the next half-day increment (e.g., 1.25 → 1.5, 1.6 → 2).
- Round Down/Nearest whole number: Always rounds down to the nearest full day, regardless of the fraction (e.g., 1.5 → 1).
- Round Down/Nearest half: Always rounds down to the nearest half-day increment (e.g., 1.75 → 1.5).

Advance Leave Application
For leave types that require a minimum number of days per application, tick the checkbox and specify the minimum number of days. By default, this value is set to 1.
If the leave type requires employees to apply in advance, tick the checkbox and enter the required number of working days (e.g., 3 working days in advance). When an employee applies for leave, the system will automatically calculate the advance notice period and either allow or prevent the application with a prompt.
You can also enable an option for employees to agree to customized Terms & Conditions. Once enabled, a text box will appear for you to input the Terms & Conditions.
Add to Leave Periods
Choose the leave period(s) that the leave type should be made available in.

Be sure to click on the Save button when you are done.
You can now proceed to assign these leave types to your employees.
Was this article helpful?
That’s Great!
Thank you for your feedback
Sorry! We couldn't be helpful
Thank you for your feedback
Feedback sent
We appreciate your effort and will try to fix the article
