You can submit the following IRAS forms through HReasily Pro:
IR8A - for all employees
Appendix 8A - for employees who were provided with benefits-in-kind
Appendix 8B - for employees who derived gains or profits from Employee Stock Option (ESOP) Plans or other forms of Employee Share Ownership (ESOW) Plans
Key Changes for Year of Assessment 2026
For Year of Assessment 2026, IRAS has introduced several changes that affect year-end tax filing:
1. Retirement of 3 IR8A Codes
The following IR8A codes are no longer applicable from YA2026 onwards:
- D - Pension
- D - Retirement Benefits accrued up to 31 December 1992
- D - Employer Overseas Pension / Provident Fund with Tax
If your payroll contains pay items mapped to these codes, they will automatically be excluded from YA2026 filings.
What you should do:
- Review your pay item mappings before generating files
- Consult your tax officer or IRAS if you are unsure whether re-mapping is required
2. Removal of IR8S
IR8S is no longer required and has been fully redacted for YA2026. You will only generate and submit:
IR8A
Appendix 8A (if applicable)
Appendix 8B (if applicable)
Steps to Create a Tax Filing
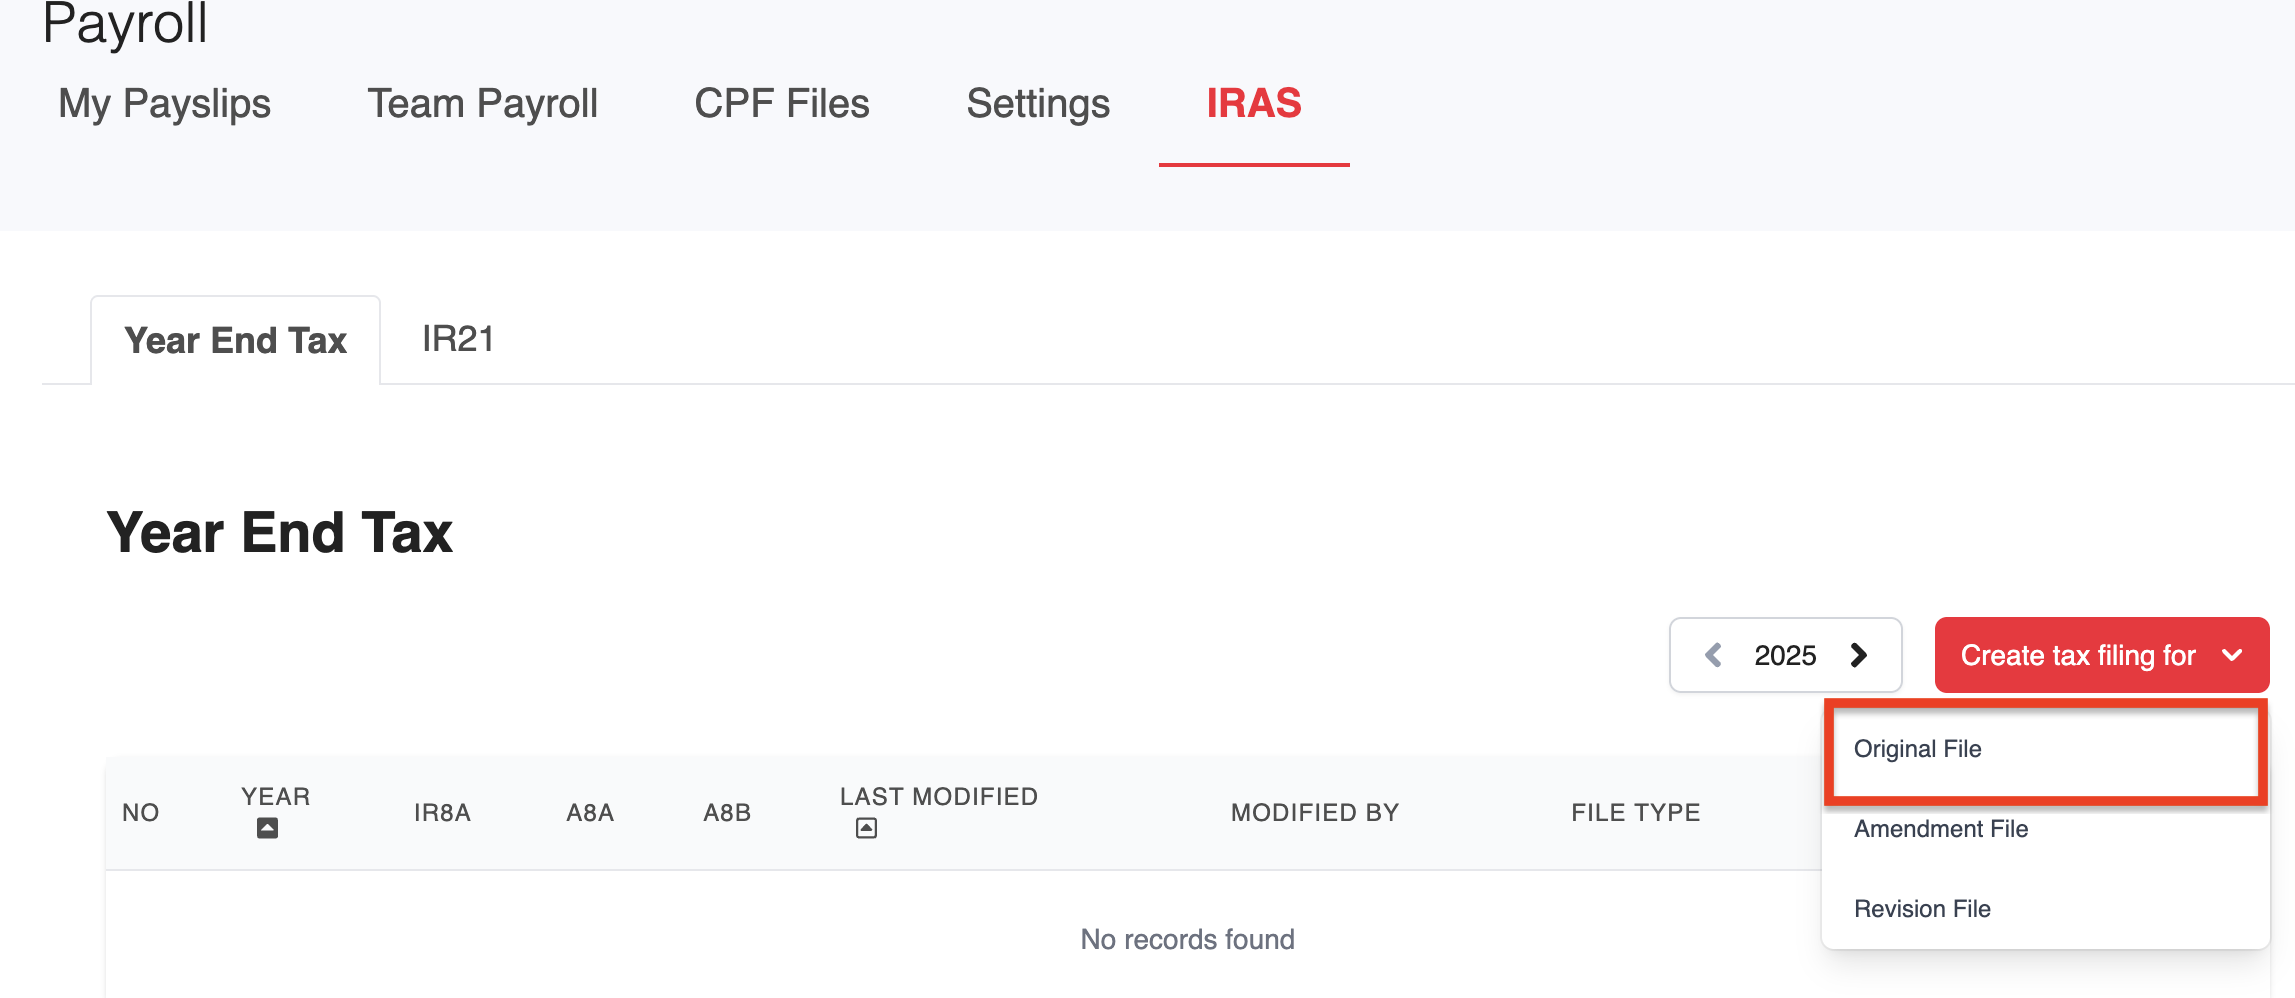
Go to Payroll > IRAS > Click on Create tax filing for (year) > Select Original File.
Important Note:
Please ensure you select the correct income year when creating the form.
For example, select year 2025 for income earned in 2025.
Use Revision or Amendment files only if you need to update forms that have already been submitted.
Revision: Replaces the earlier submission entirely.
Amendment: Applies adjustments on top of the original submission.
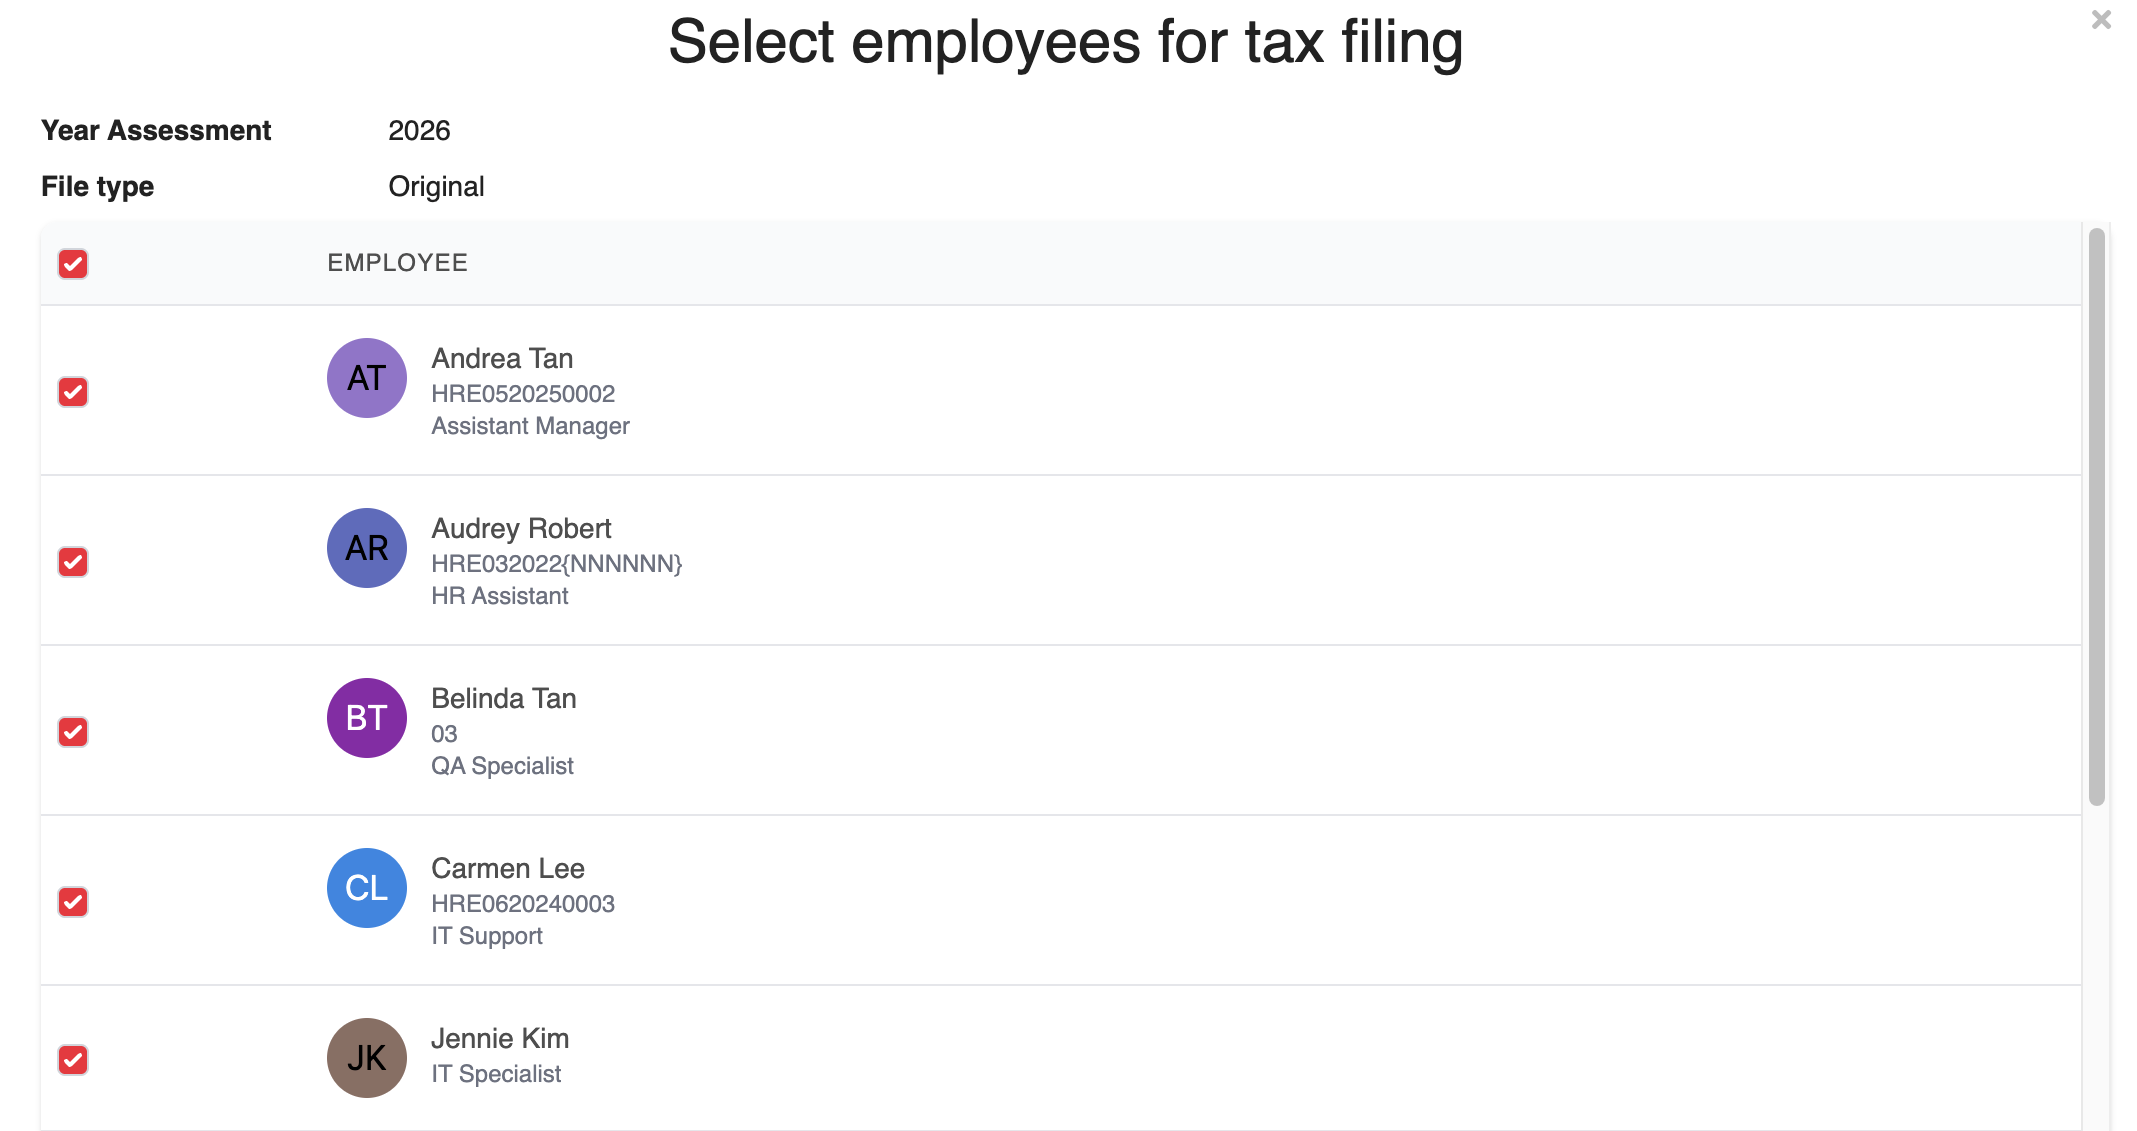
Select the employees you want to file for.
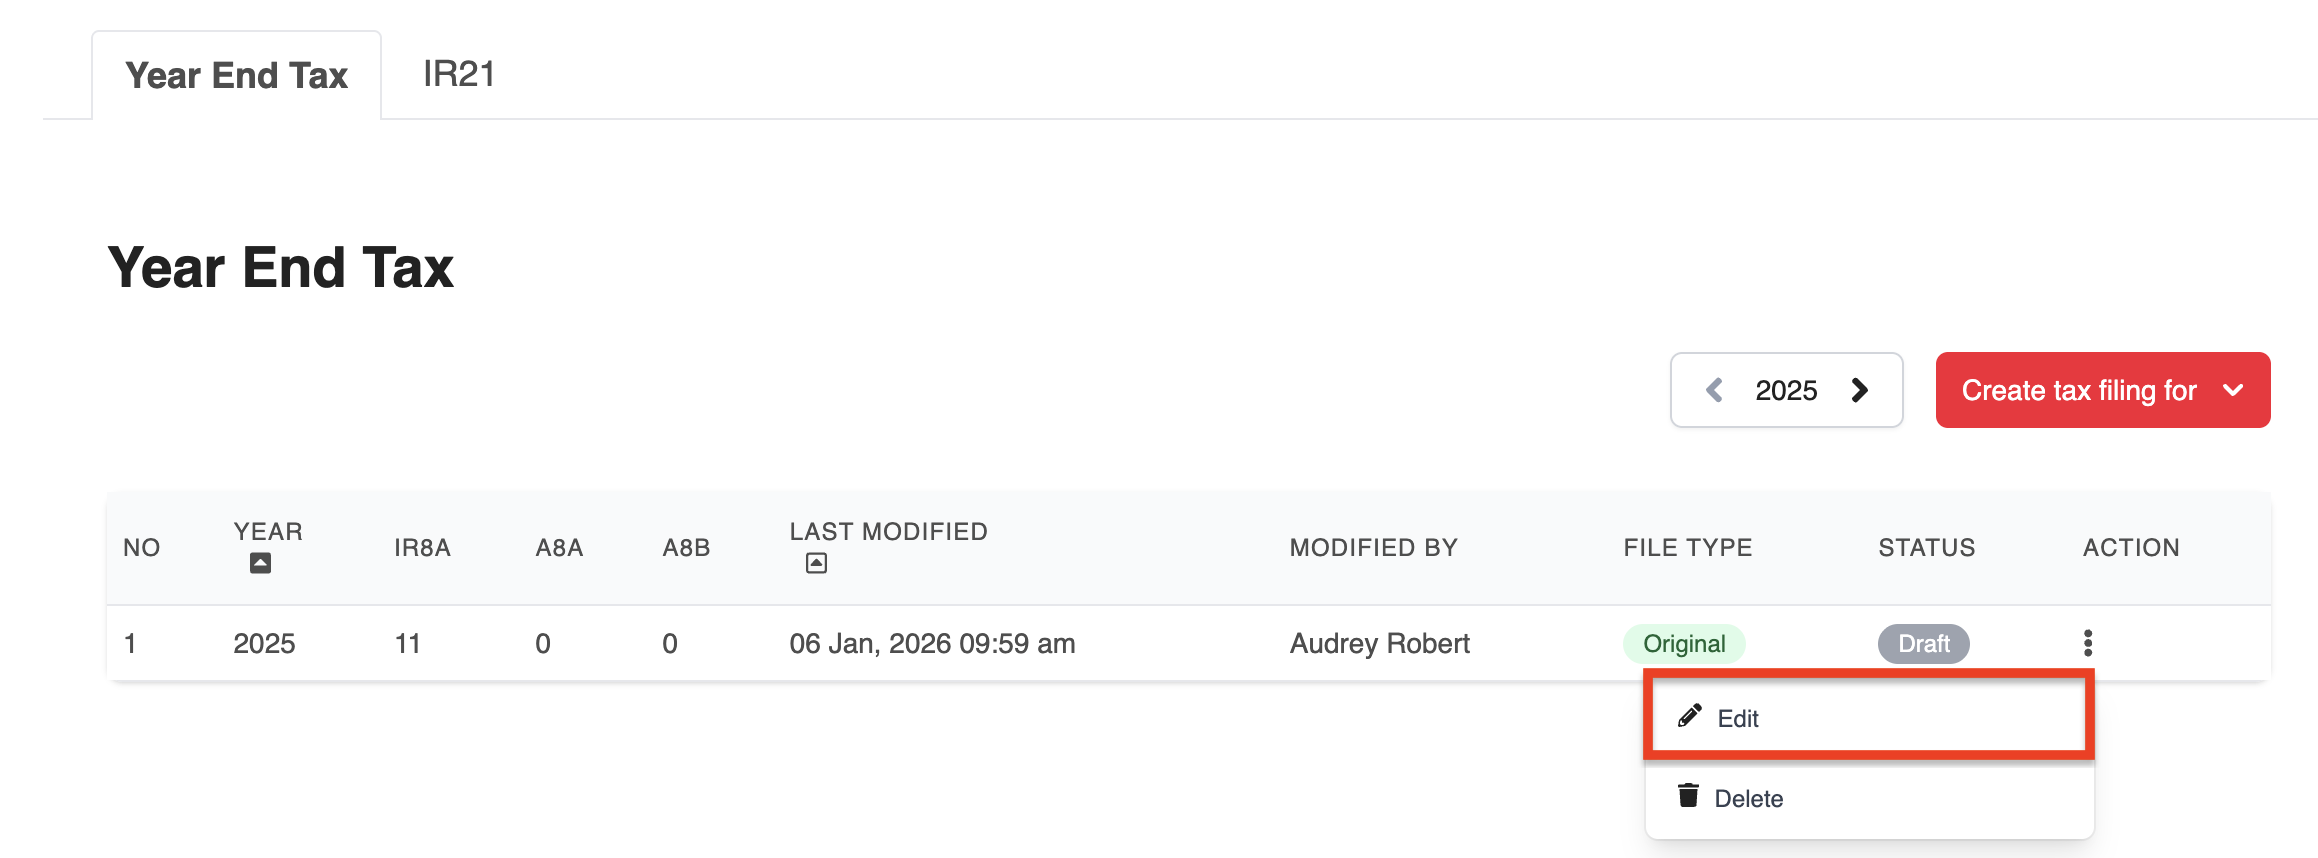
A new draft entry will be created. Click on the 3 dots and then click on Edit.
Step 1: Organisation Details
The information will be populated from your existing data by default. You can also edit any information by clicking on the Edit button.
 Important: The maximum characters for the contact number will be 12 and for designation will be 30.
 You may refer to this table below if unsure what to choose for your Organization Registration Type: Source: https://mytax.iras.gov.sg/portal/auto-inclusion/search/ais
Once you have verified that the information is correct, click on Next.
Step 2: IR8A
Separate IR8A forms for each employee will be generated, and certain information will be populated from existing employee data, including payroll.
Note: You will need to configure the Tax Type for Pay Types in payroll for them to be automatically populated in the IR8A form.
You can view each form and make any necessary edits by clicking on the 3 dots and then click on Edit.
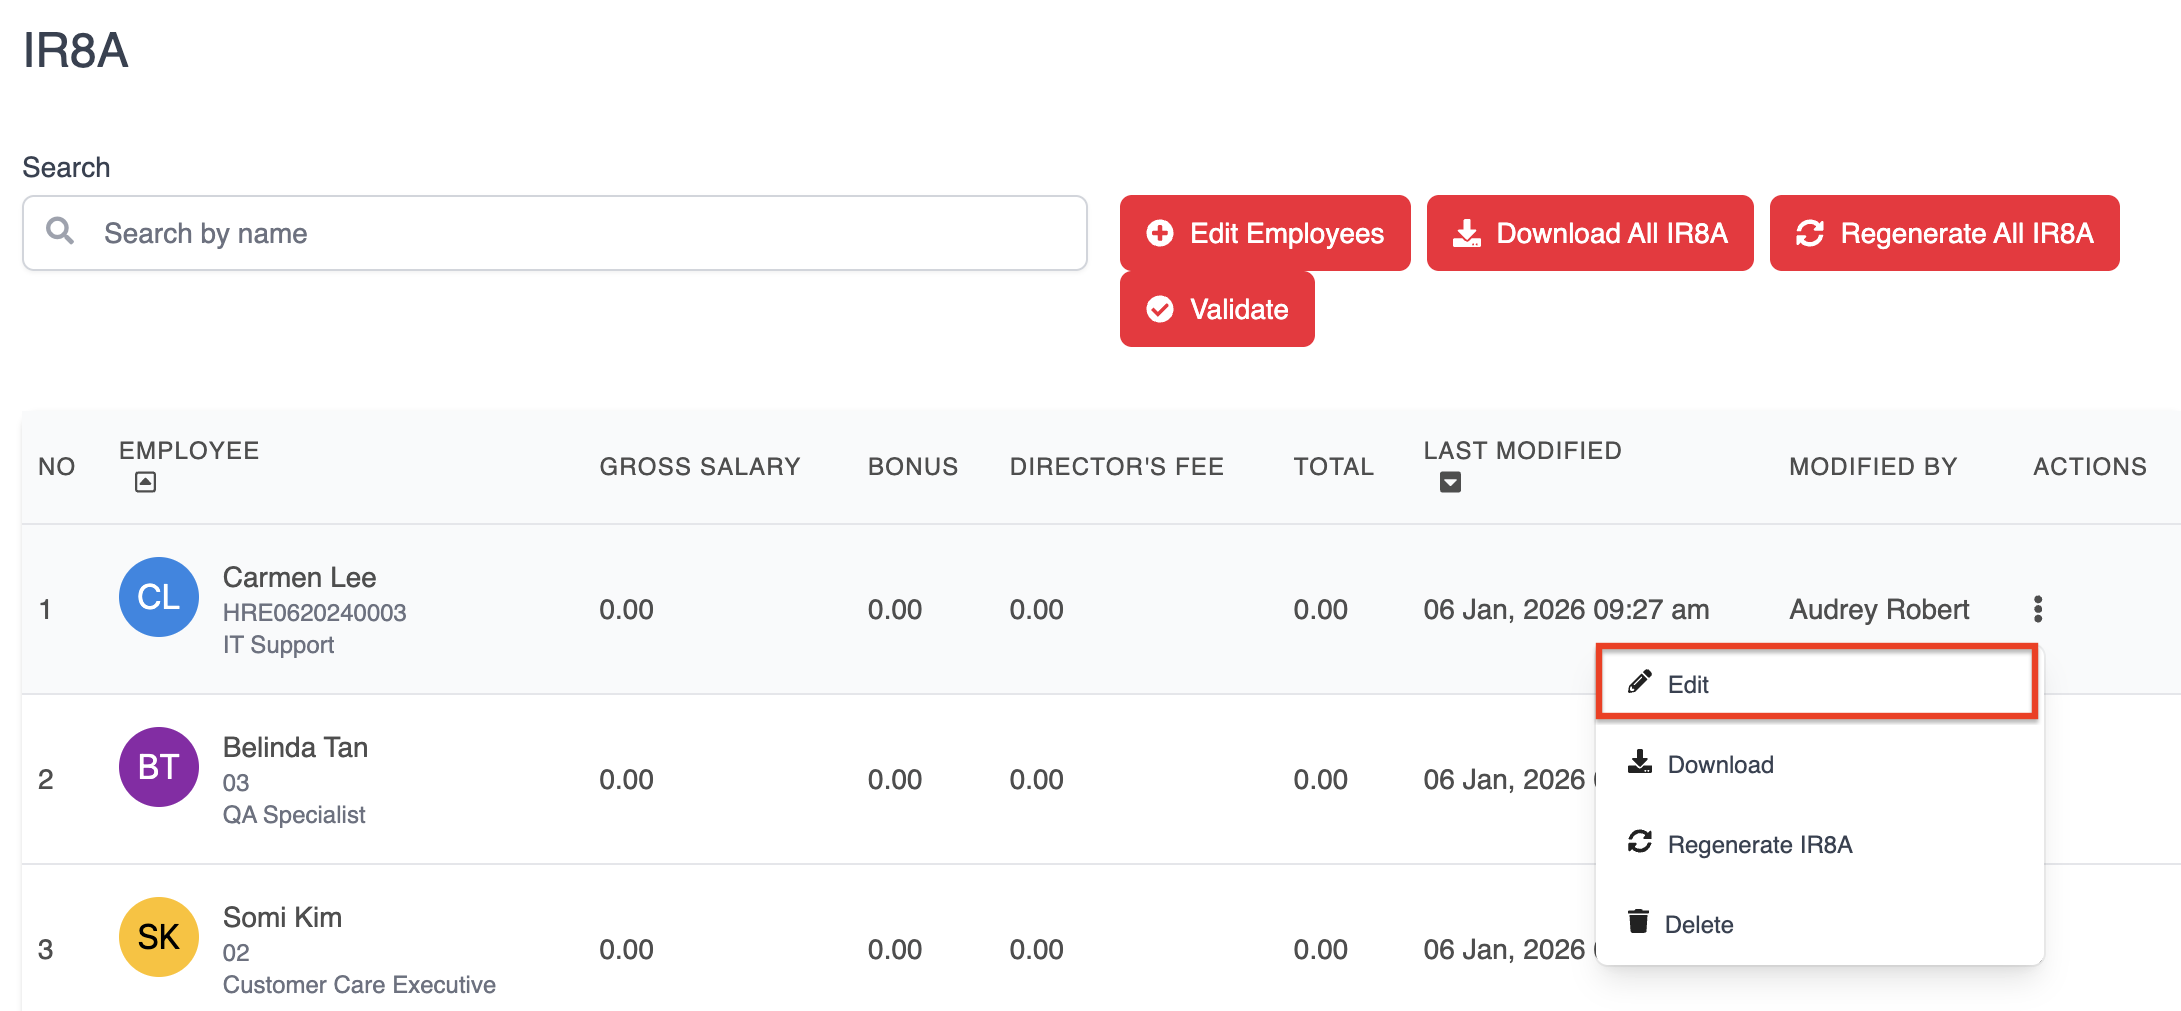
This will bring you to the employee's individual IR8A form, and you can click on Edit at the top right.
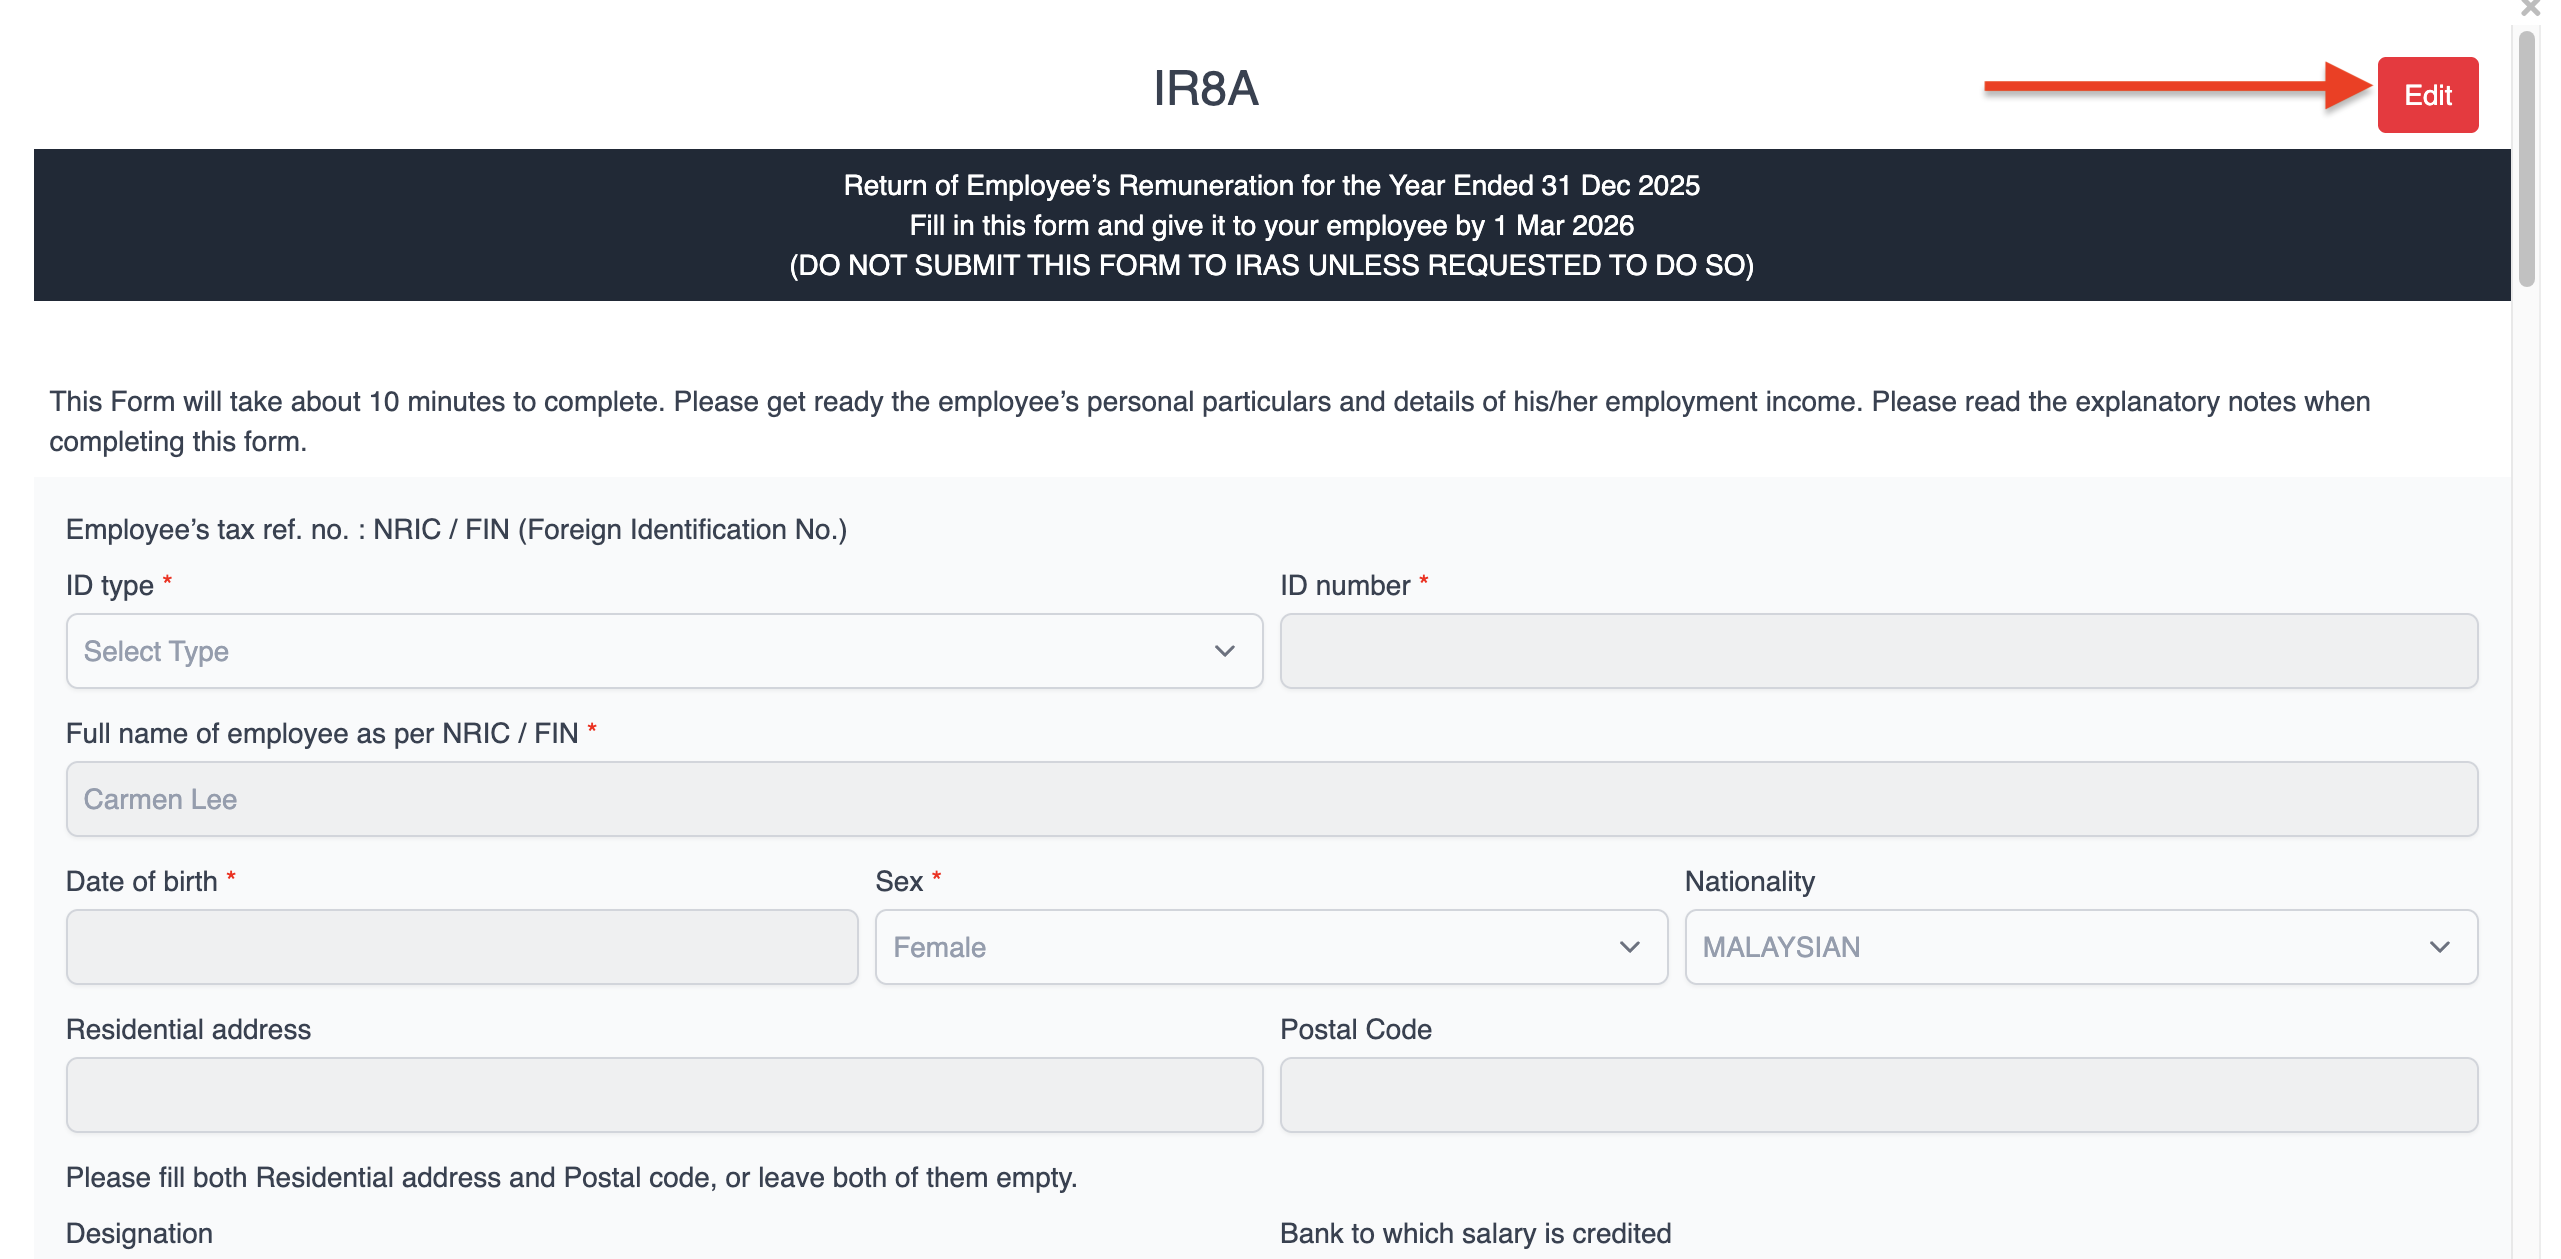
Important: The maximum characters for the address filed will be 90.
Once you have confirmed that all of the information is correct, scroll down to the bottom of the form and click on Save.
If there are any errors, you will be taken to the relevant section of the form and it will be highlighted in red.
For example:

If there are no errors, once you click on Save, you'll be able to move on to the next step by clicking on Next.
If you only need to submit the IR8A, skip to: Validating the IRAS forms
Step 3: Appendix 8A
You only need to fill out an Appendix 8A form for employees who were provided with benefits-in-kind.
Note: You can skip this step if it is not applicable by clicking Next.
There are two ways to create an Appendix 8A form:
From the Appendix 8A step, by clicking on Edit Employees.

From the IR8A form, by clicking on Create form A8A under item number 8

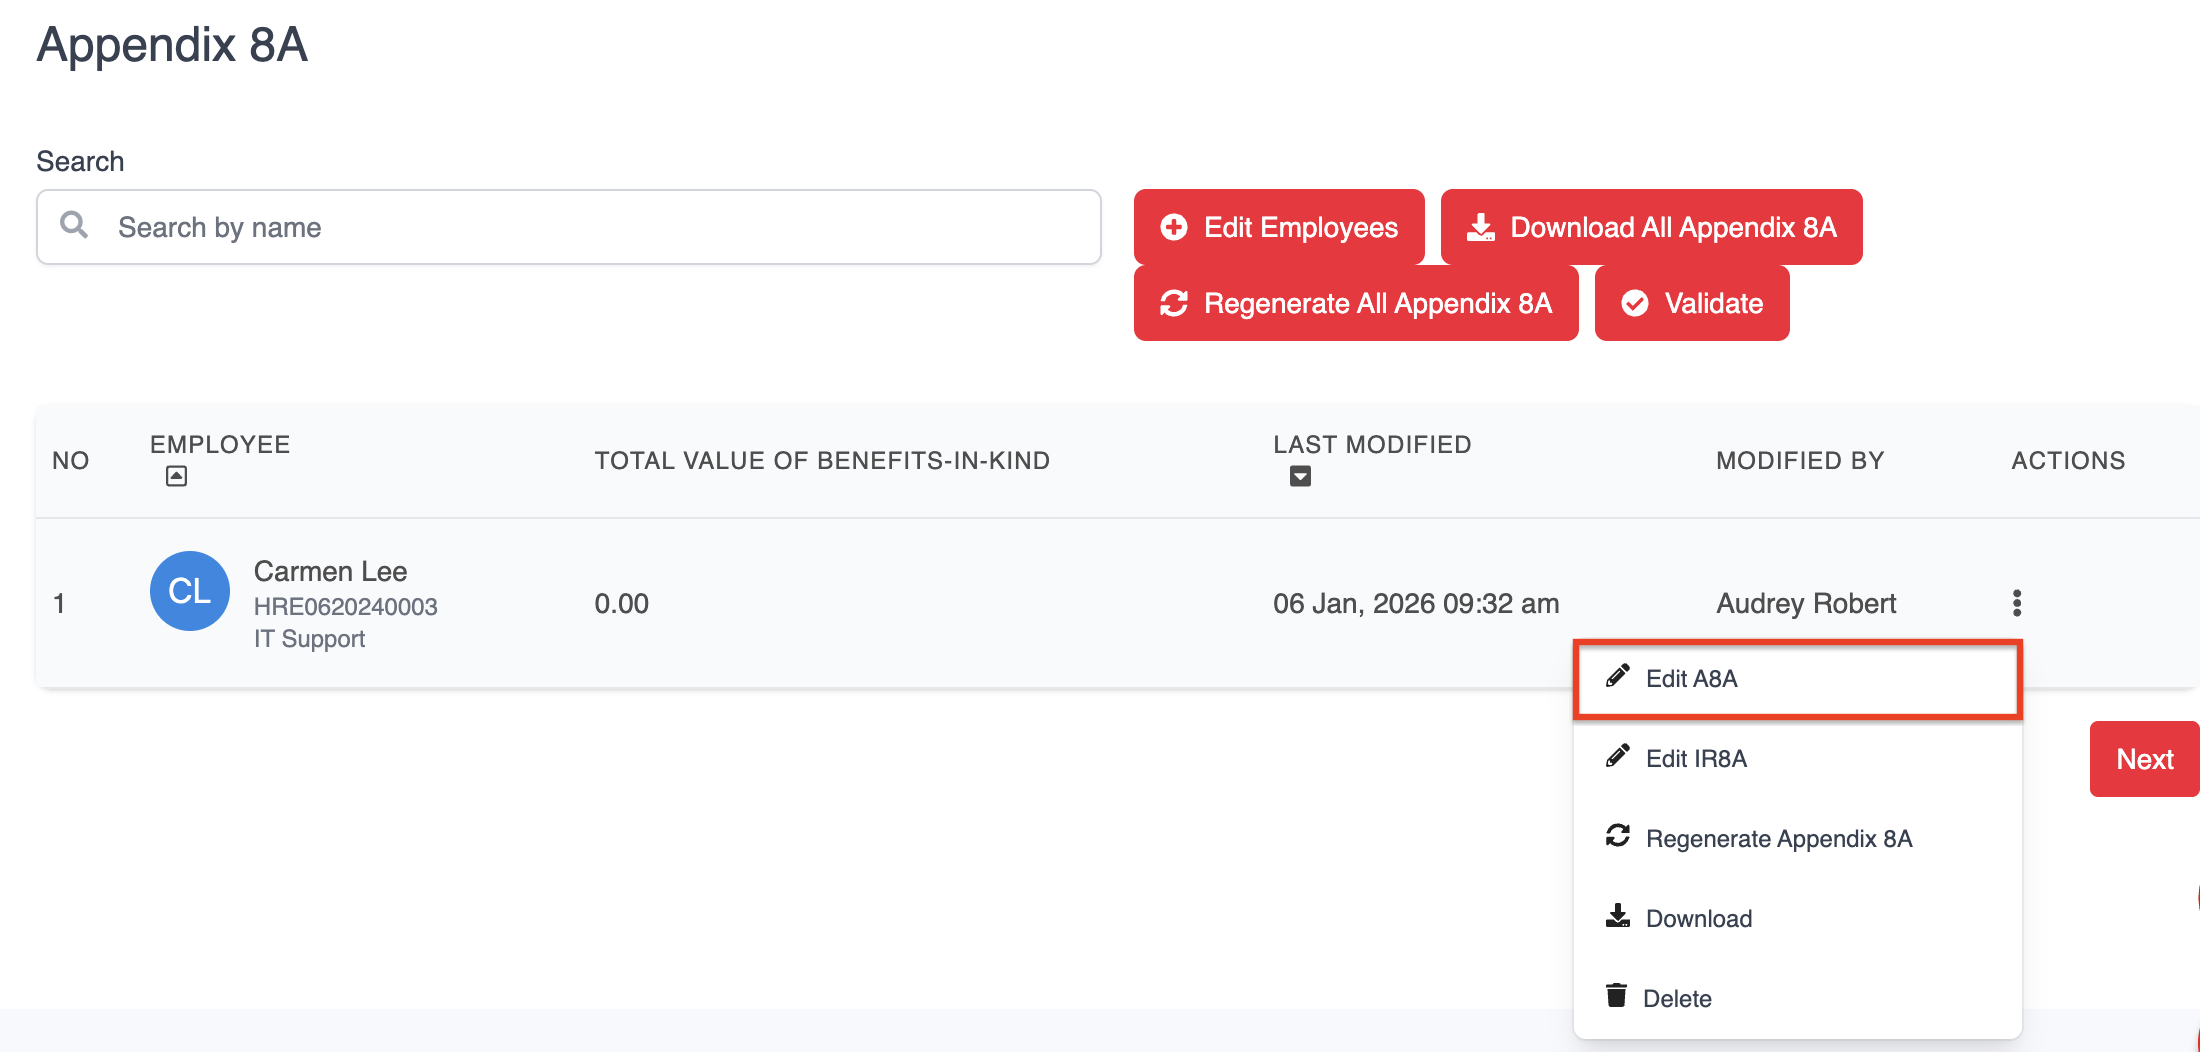
Once the entry is created, you can edit the form by clicking on the 3 dots and then click on Edit A8A.
Since the information from the Appendix 8A is automatically linked to the IR8A, there is also an option to edit the IR8A.
This will bring you to the employee's individual Appendix 8A form, and you can click on Edit in the top right.
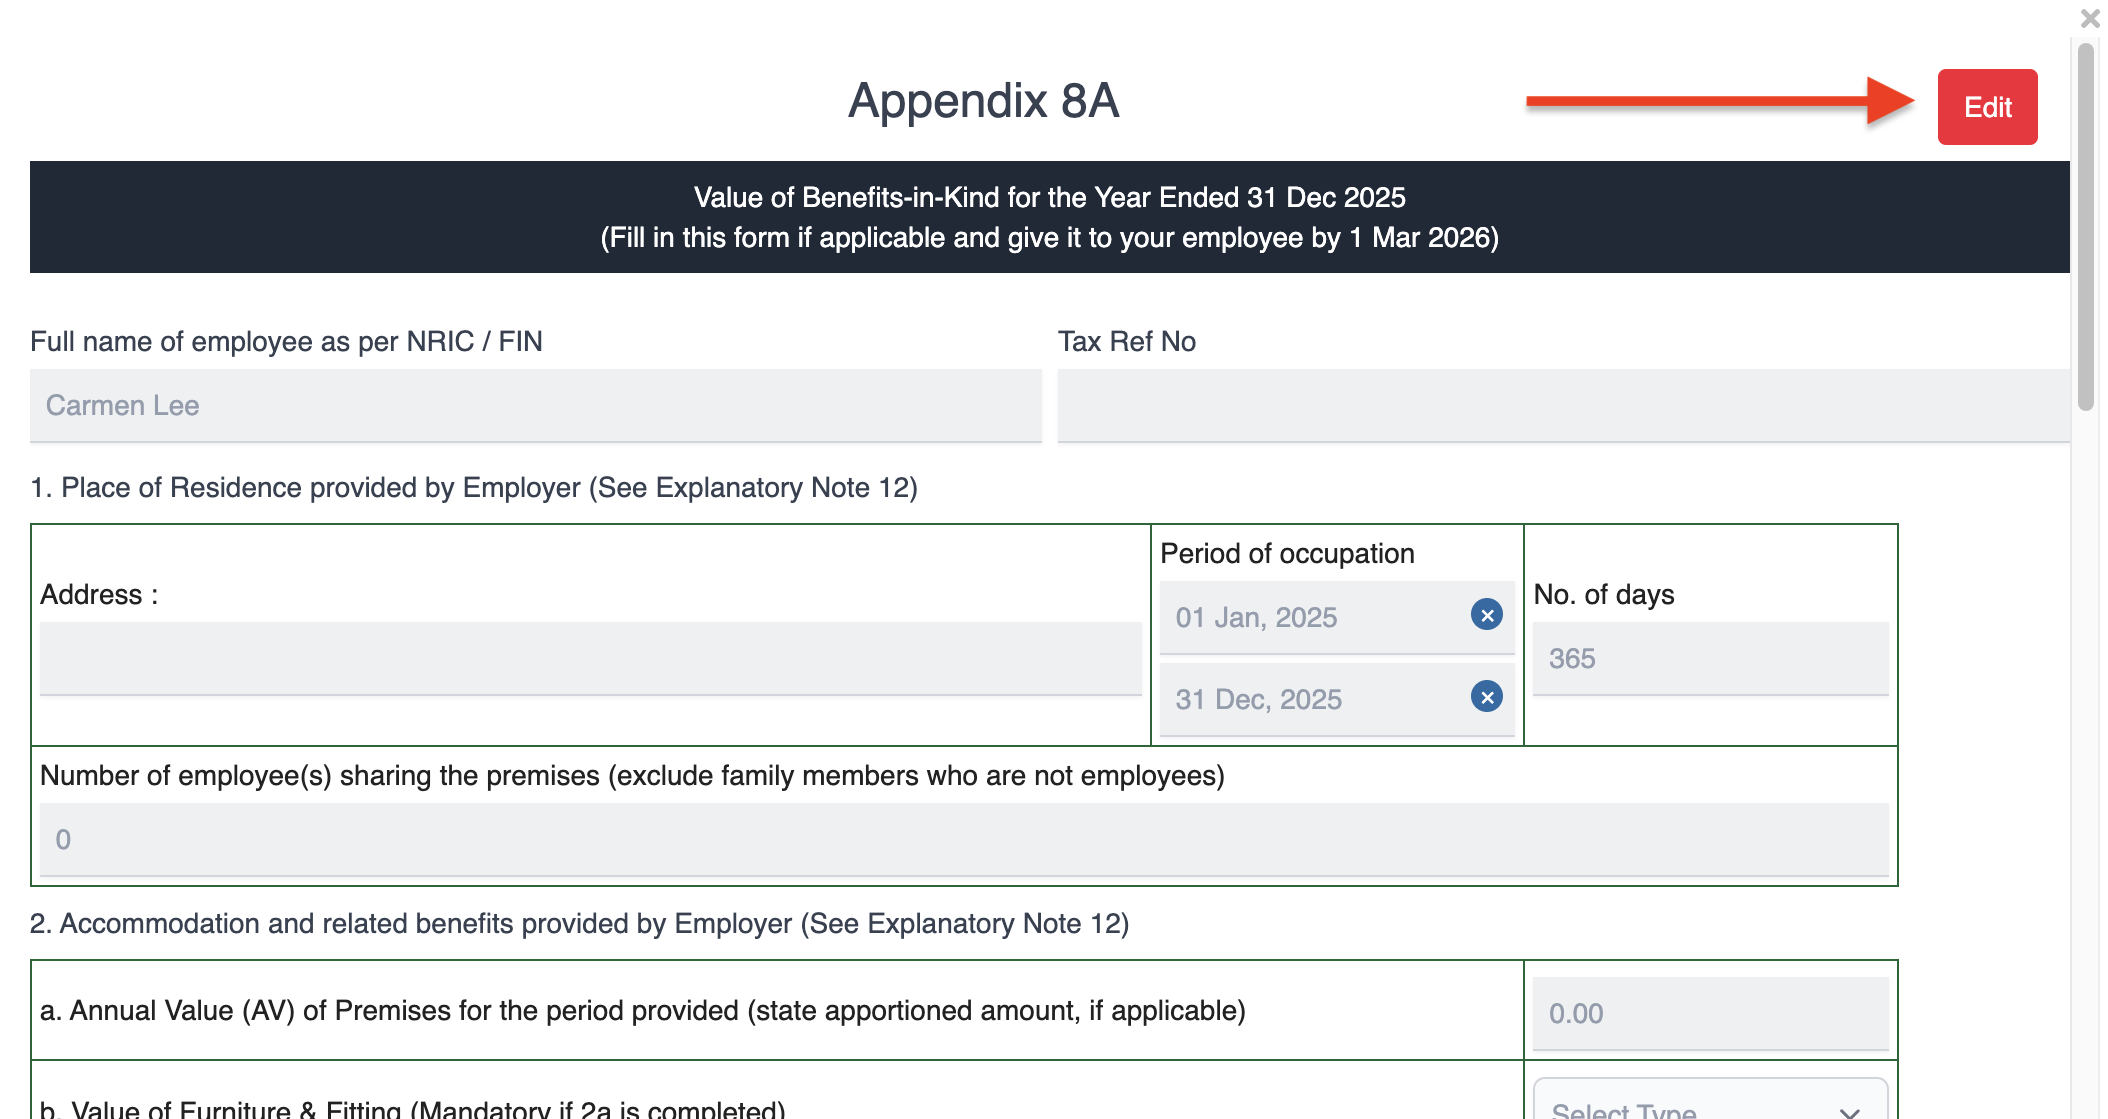
Once you have confirmed that all of the information is correct, scroll down to the bottom of the form and click on Save.
The relevant information will be automatically populated in the IR8A form as well.
Once all the necessary information has been edited, click Next.
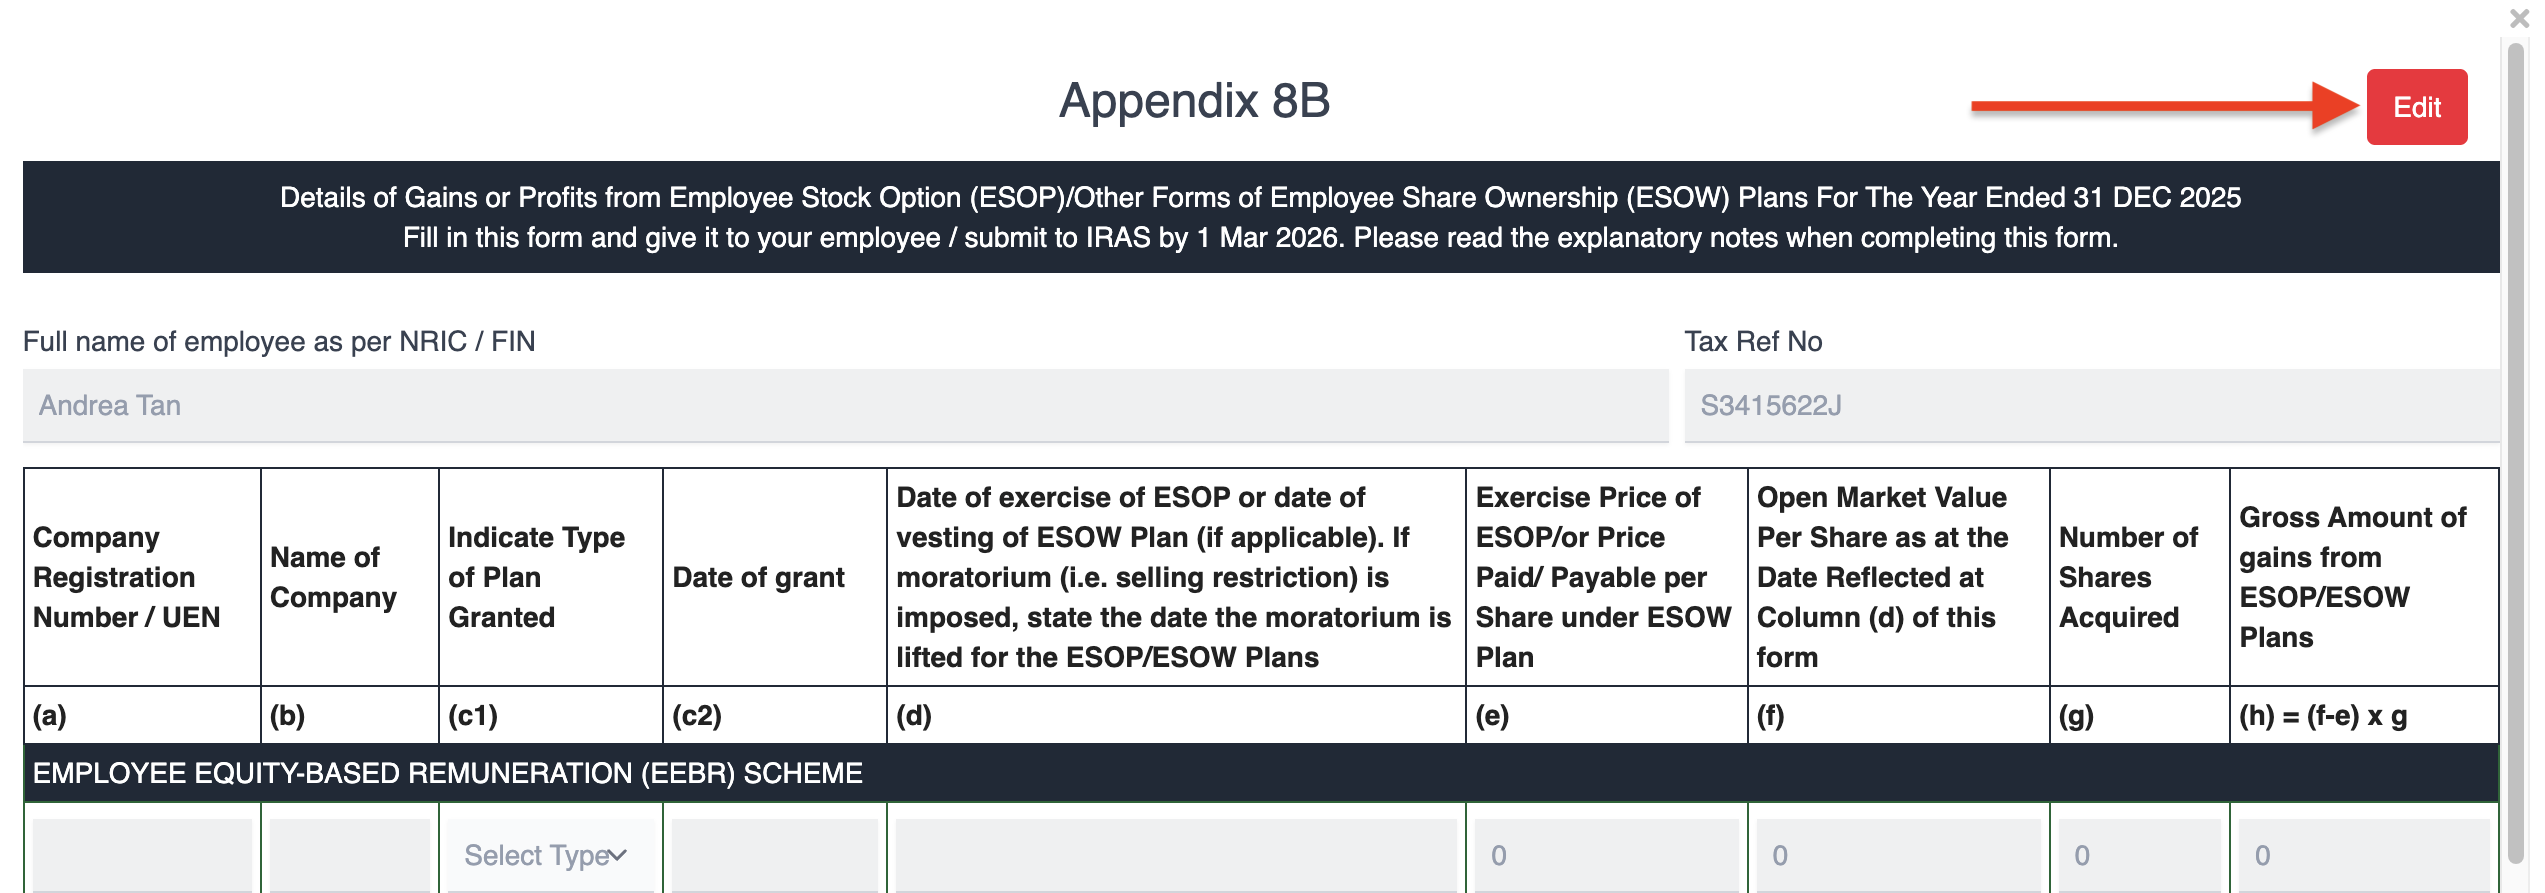
Step 4: Appendix 8B
You only need to fill out an Appendix 8B form for employees who derived gains or profits from Employee Stock Option (ESOP) Plans or other forms of Employee Share Ownership (ESOW) Plans.
Note: You can skip this step if it is not applicable by clicking Next.
There are two ways to create an Appendix 8B form:
From the Appendix 8B step, by clicking on Edit Employees.

From the IR8A form, by clicking on Create form A8B under item number 7.

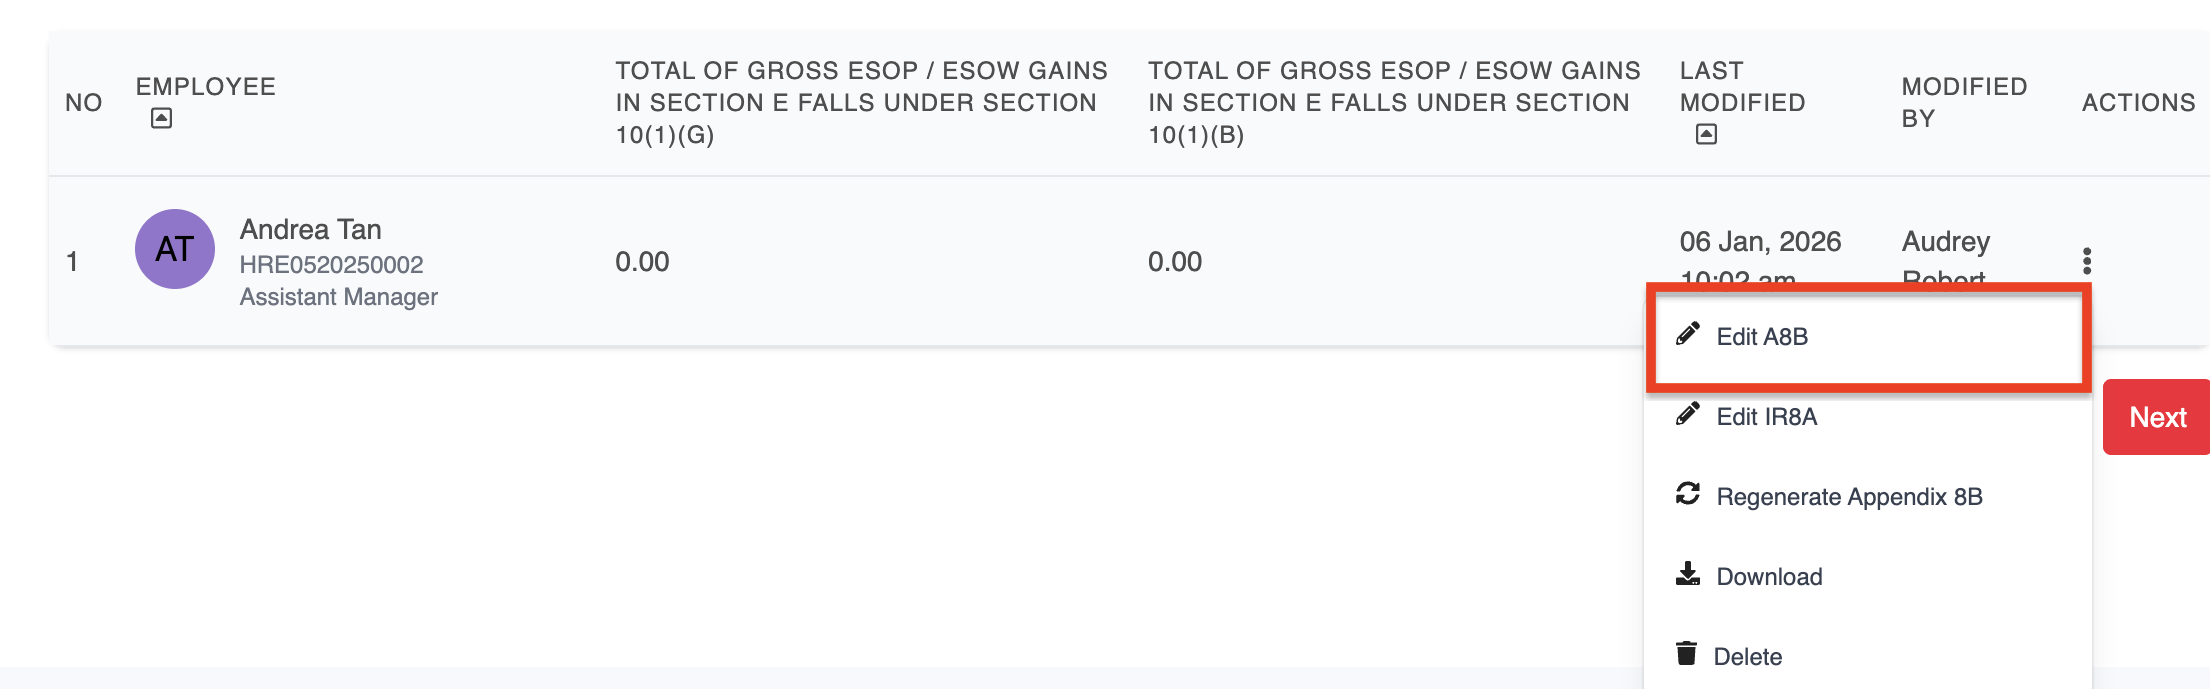
Once the entry is created, you can edit the form by clicking on the 3 dots and then click on Edit A8B.
Since the information from the Appendix 8B is automatically linked to the IR8A, there is also an option to edit the IR8A.
This will bring you to the employee's individual Appendix 8B form, and you can click on Edit at the top right.
Once you have confirmed that all of the information is correct, scroll down to the bottom of the form and click Save. The relevant information will be automatically populated in the IR8A form as well.
Once all the necessary information has been edited, click Next.
Validating the IRAS forms
Once the forms have been saved and edited, you can click on the Validate button to have the information validated by IRAS.
Note: You can perform validation at every step, or at the very end in the summary step (it will automatically prompt you to validate). You will not be able to submit the forms without validating first.

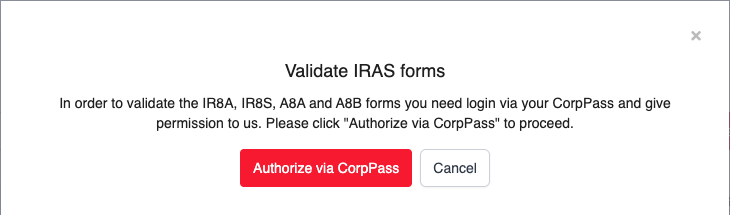
Thereafter, click on Authorize via CorpPass button.
Note: The login will be valid for 30 minutes, after which you will be prompted to log in again.
Choose the option that best fits the case.
If unsure, you may refer to this link below:
https://docs.developer.tech.gov.sg/docs/complete-apex-user-guide/sections/oauth/authorization-profile

You will then be prompt to login to your Singpass.
Please ensure that the company has already allocated you the Approver role in IRAS’ e-Services portal.
*Only Approver role is able to submit the form(s) to IRAS.
You will be brought back to the HReasily Pro platform and any errors or warnings will be shown.

Errors vs. warnings
If there are errors, you will see a red exclamation mark. Proceed to click on it.

You'll be redirected to the employee listing.

Errors will be shown in red. For example:

If there are warnings, you will see a yellow exclamation mark.

Warnings will be shown in yellow, for example:

You can still submit forms that have warnings (see below), but any errors need to be corrected before you will be allowed to submit.
Step 6: Submitting forms once validated
If the forms have been validated, the status will be shown beside the Summary header.

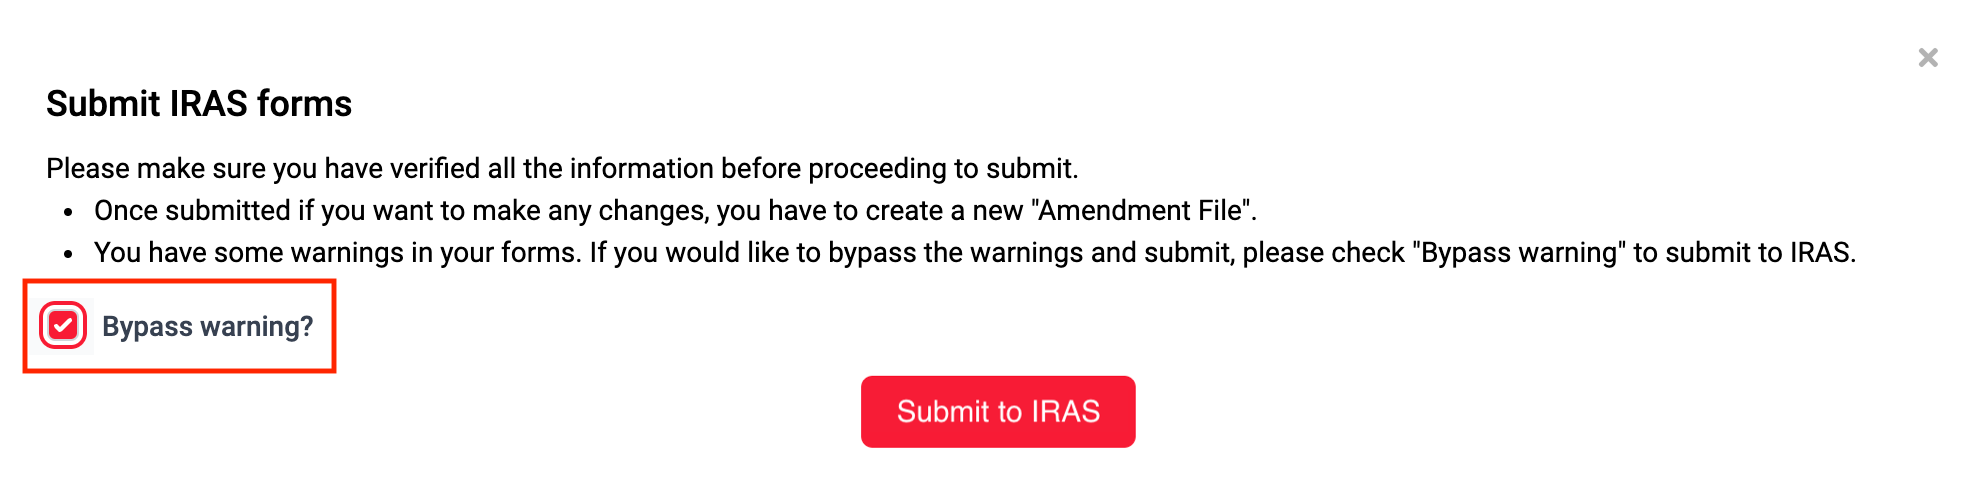
If there are no errors, you can go ahead and click on Submit To IRAS at the bottom of the summary page.

If there are any warnings and you still wish to proceed, you will be prompted to tick the "bypass warning" checkbox before submitting.
Once it has been submitted, the status will be shown beside the "Summary" header.

Was this article helpful?
That’s Great!
Thank you for your feedback
Sorry! We couldn't be helpful
Thank you for your feedback
Feedback sent
We appreciate your effort and will try to fix the article