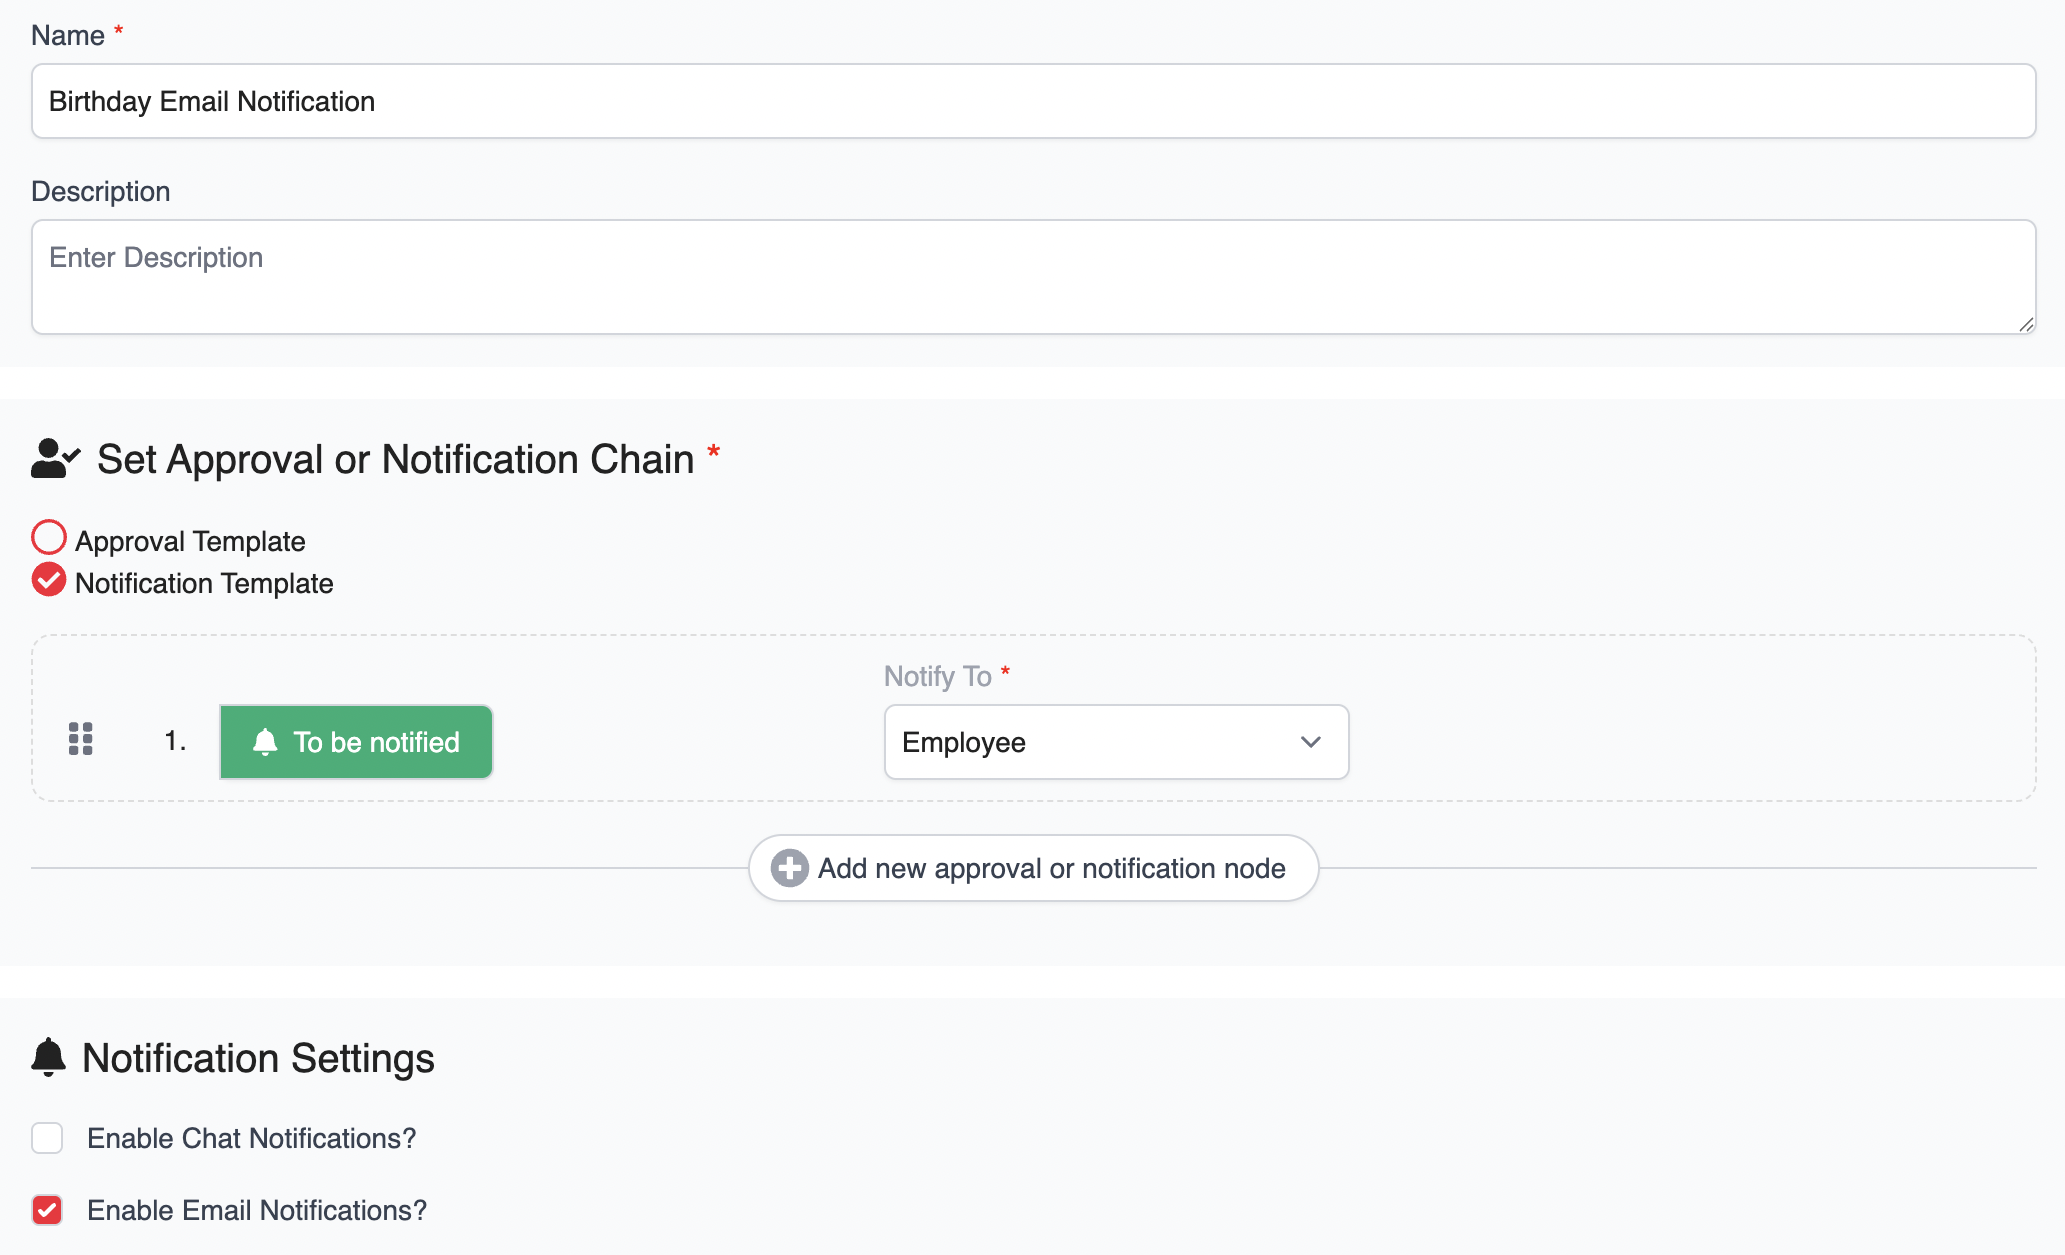
Before creating your custom email template, ensure the following settings are configured:
✅ Set Notification Template
✅ Enable Email Notifications
Once the setup is complete, follow the steps below to create and customize your own email notification template.
1. Go to Company > Approval and Notification > Approval and Notification Settings > Email Notification Templates.
2. Click New Email Template to open the email editor page.

3. In the editor page, complete the mandatory fields:
Title – Subject of the email notification.
Notification Template – Select the notification template you've set up earlier.
Notification Setting – Define when users will be notified.

You can also insert tokens to personalize your message. Drag and drop from the available token categories:
Employee tokens (e.g., employee name, ID)
Company tokens (e.g., company name)
System tokens (e.g., date, time)
Then, compose your message and customize it by adjusting fonts, inserting tables, images, or media as needed.

4. Click the Preview tab to review the email layout and content.

5. Once finalized, click Save.

6. Next, assign to employees by clicking the Assign to Employees button next to the template, then select the relevant employees.


7. To manage your templates, you can:
- Delete a template by clicking the Bin icon.
- Edit an existing template by clicking the Edit icon.
- Duplicate a template by clicking the Clone icon.

Was this article helpful?
That’s Great!
Thank you for your feedback
Sorry! We couldn't be helpful
Thank you for your feedback
Feedback sent
We appreciate your effort and will try to fix the article